In this article I will make a short description how to make a remote PowerShell connection. I needed this for a job once, tried to make a remote PowerShell connection from a Non Domain Joined machine to a Domain Joined server. I needed to re-configure the server first before making a connection. With the following code you can try and test the connection:
$computer = "controller01.domain.local"
$credential = get-credential
Invoke-Command -ScriptBlock {get-host} -ComputerName $computer -Credential $credential
At the popup enter the credentials. 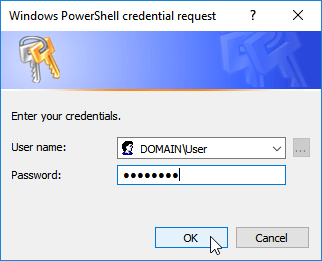 If you are lucky, a successful connection can be made, but in my case this wasn’t so. I got a nice error.
 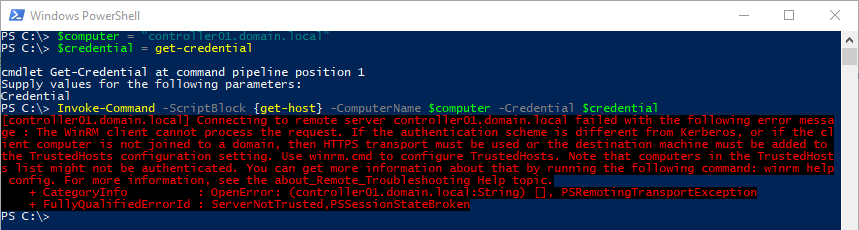 This meant that I needed to make a secure connection (client machine was not Domain Joined). You can create a secure remote connection by adding the -UseSSL option
Invoke-Command -ScriptBlock {get-host} -ComputerName $computer -Credential $credential -UseSSLBut that alone is not enough, you also need to configure the server you are connecting to. You can configure the server to listen to secure connection by running the following command.
winrm quickconfig -transport:httpsBefore a secure connection can be setup, you need to have a certificate (in the personal computer store) that matches the fqdn of your server. If you don’t have a (correct) certificate you can get an error. 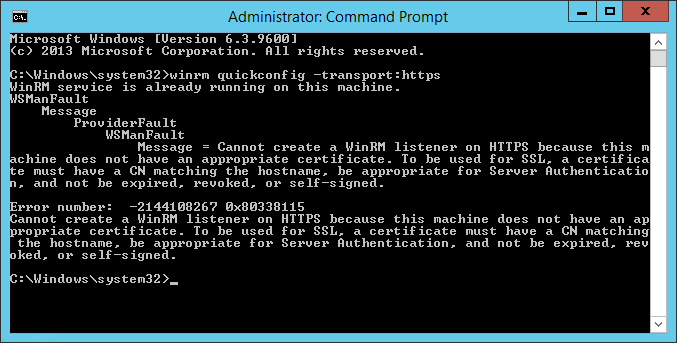 If you have the certificate in place, run the following command again.
winrm quickconfig -transport:https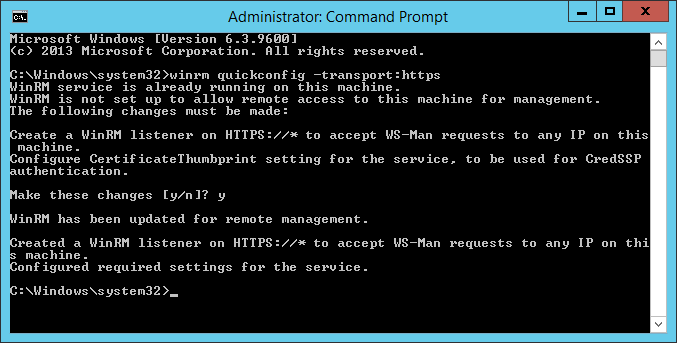 Note: additional configuration regarding security may be required! These are just the default configuration. Depending on you certificate used you may have to configure the “-SkipRevocationCheck” and “-SkipCACheck” to make a successful connection.
$computer = "controller01.domain.local"
$credential = get-credential
$sessionOption = New-PSSessionOption -SkipRevocationCheck -SkipCACheck
Invoke-Command -ScriptBlock {get-host} -ComputerName $computer -Credential $credential -SessionOption $sessionOption -UseSSL
And I had a successful connection.  I hope with sharing this knowledge I could help you to.
comments